In this exercise, you will set up and build the baseline case in a new directory, run it for 24 hours, then restart it and run for another 24 hours.
Start by creating a new case.
./create_newcase --case $UFS_SCRATCH/ufs-mrweather-app-workflow.c96_restart --compset GFSv15p2 --res C96 --workflow ufs-mrweather
Note that the directory in $UFS_SCRATCH has the _restart suffix.
Continue, analogous to steps 3-5 of Session 1.
./case.setup
./case.build
As before, it should take about 8 minutes to build the new case. Once done, change a few variables:
Set runtime to 24 hours
./xmlchange STOP_N=24
Reduce wallclock time from 12 hours to 30 minutes
Turn off short term archiving
For the Tutorial, there is a reserved queue:
Run the model for 24 hours
As before, you can use qstat to monitor your job's progress
If needed, you can kill your job:
When your initial job has completed, change CONTINUE_RUN to True
And the case will run for another 24 hours.
After it finishes, check your results with NCL:
wget https://raw.githubusercontent.com/wiki/ufs-community/ufs-mrweather-app/files/plot_ufs_sfcf.ncl
ncl plot_ufs_sfcf.ncl
To visualize the resulting images in png, use the command:
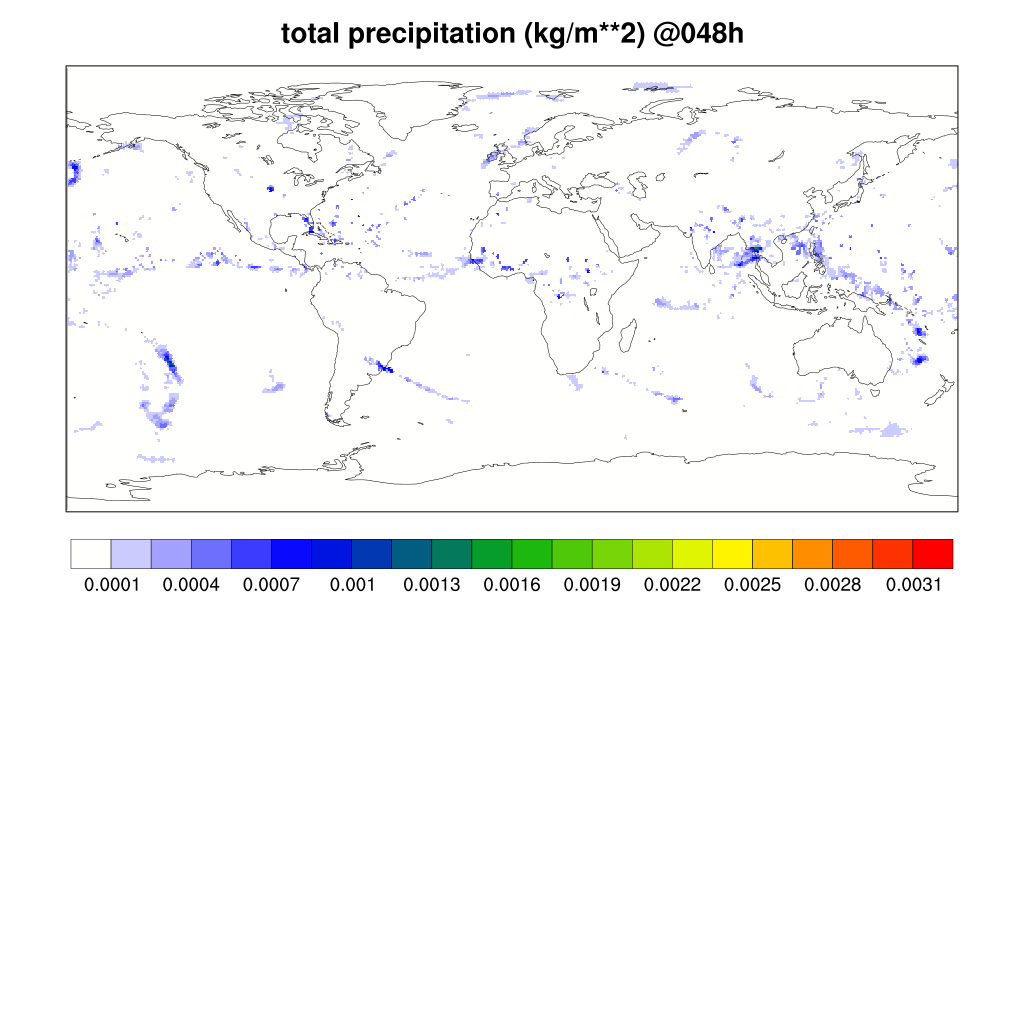
display plot_ufs_phyf_tprcp.png
The sample plots are below. Click here to compare the restart run to the baseline run.