Session 11: METplus Cloud
Session 11: METplus Cloud
METplus Practical Session 11
This session will cover two METplus feature relative use cases.
Prerequisites: Accessing a guided tutorial EC2 instance
Running the tutorial in the cloud requires a cloud instance. Currently we are only supporting Amazon Web Services tutorial instances.
echo ${METPLUS_TUTORIAL_DIR}
echo ${METPLUS_BUILD_BASE}
echo ${MET_BUILD_BASE}
echo ${METPLUS_DATA}
ls ${METPLUS_TUTORIAL_DIR}
ls ${METPLUS_BUILD_BASE}
ls ${MET_BUILD_BASE}
ls ${METPLUS_DATA}
METPLUS_TUTORIAL_DIR is the location of all of your tutorial work, including configuration files, output data, and any other notes you'd like to keep.
METPLUS_BUILD_BASE is the full path to the METplus installation (/path/to/METplus-X.Y)
MET_BUILD_BASE is the full path to the MET installation (/path/to/met-X.Y)
METPLUS_DATA is the location of the sample test data directory
which point_stat
which run_metplus.py
If you don't see the full path to script from the shared installation, please set it. It should look the same as the output from this command:
echo ${METPLUS_BUILD_BASE}/ush/run_metplus.py
ls ${METPLUS_BUILD_BASE}/ush/run_metplus.py
If more information is needed see the instructions in Session 1 for more information.
The next section describes how to create your own EC2 instance and is optional
Create Your Own EC2 instance
Create Your Own EC2 instance
Create Your Own METplus EC2 Instance
You can also create your own EC2 instance if you have access to your own AWS account and space.
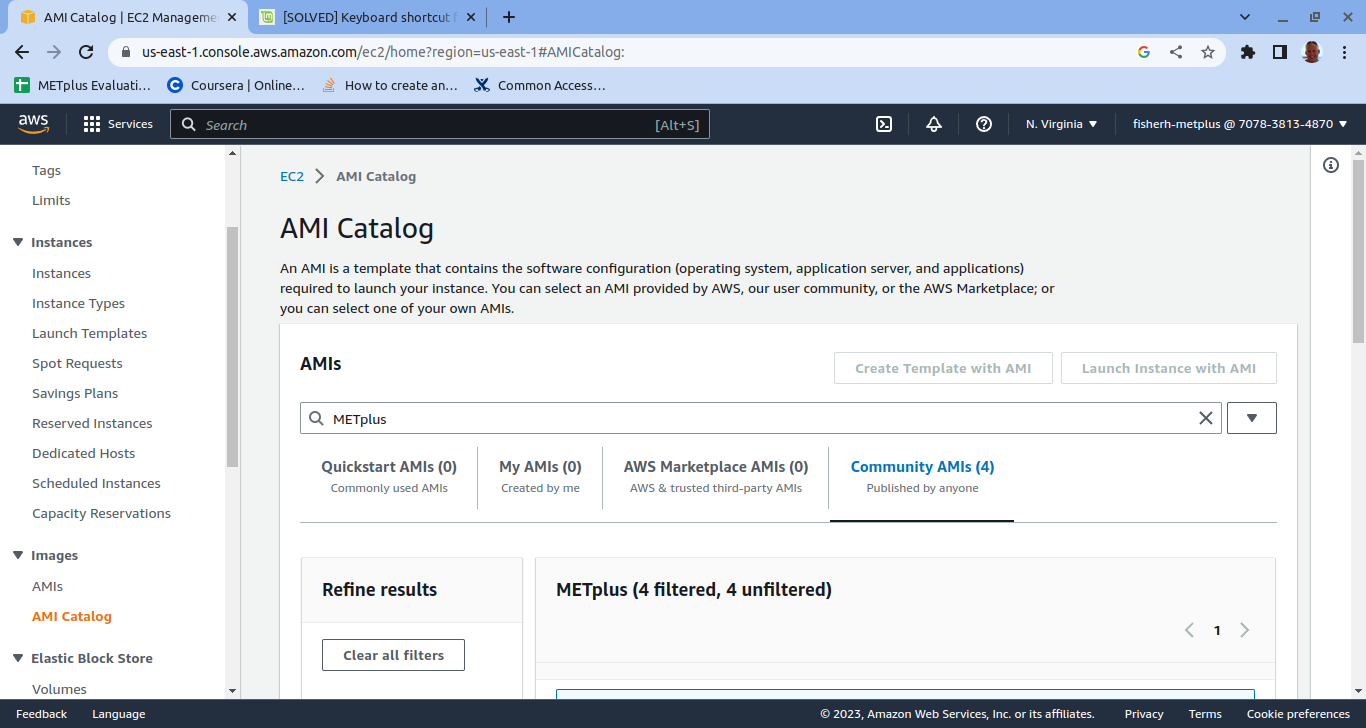
In the community AMIs tab there will be a list of prior and current METplus tutorials.
You should see a screen similar to the one below.
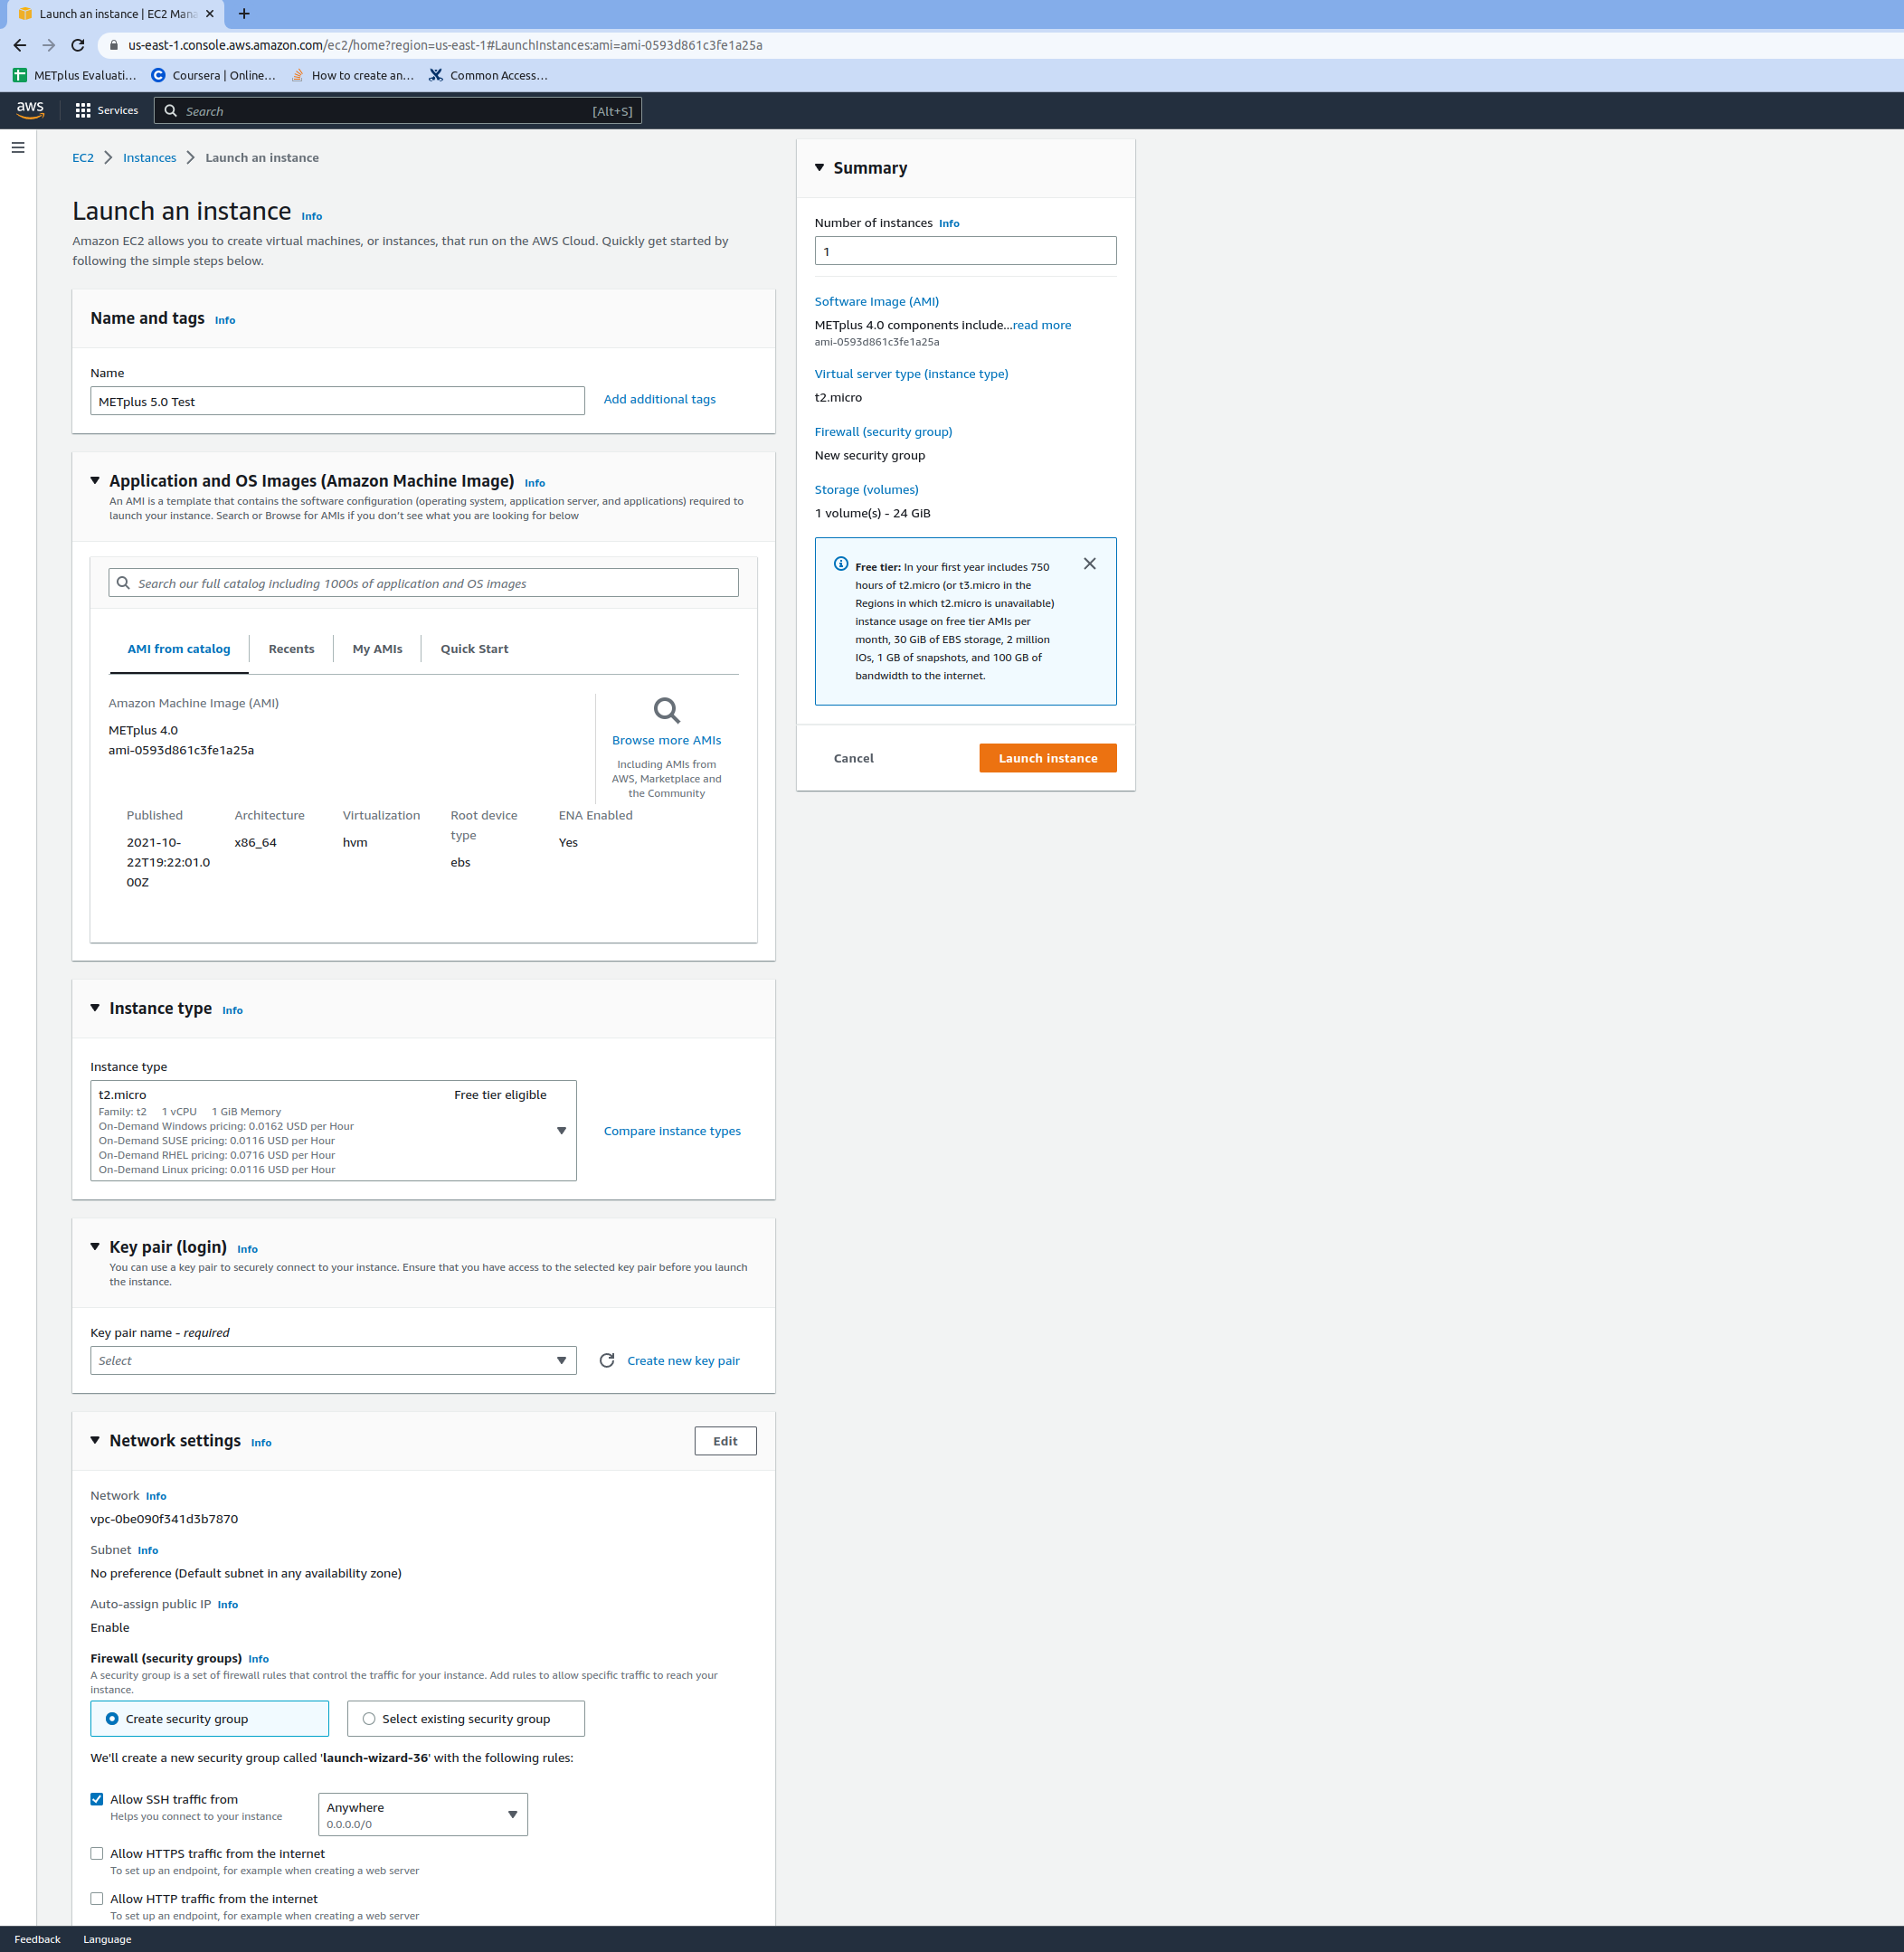
You should create a name that is descriptive and unique like METplus 5.0 <Your Name>.
Pre Filled Fields:
AMI from catalog – METplus 5.0 Tutorial
Instance type – t2.microo
Configure storage – 24 GIB gp2
fields should all be populated and not necessary to change
Fields To Edit:
The Key pair field needs to be chosen. You will have already set up a key pair when you created your AWS space which is out of the scope of this tutorial.
The Network settings field area can be used as is but we suggest changing the
Allow SSH traffic from:
This will limit access to this EC2 instance from much smaller subset than the entire internet.
The right hand column should have a summary of the choices you made above.
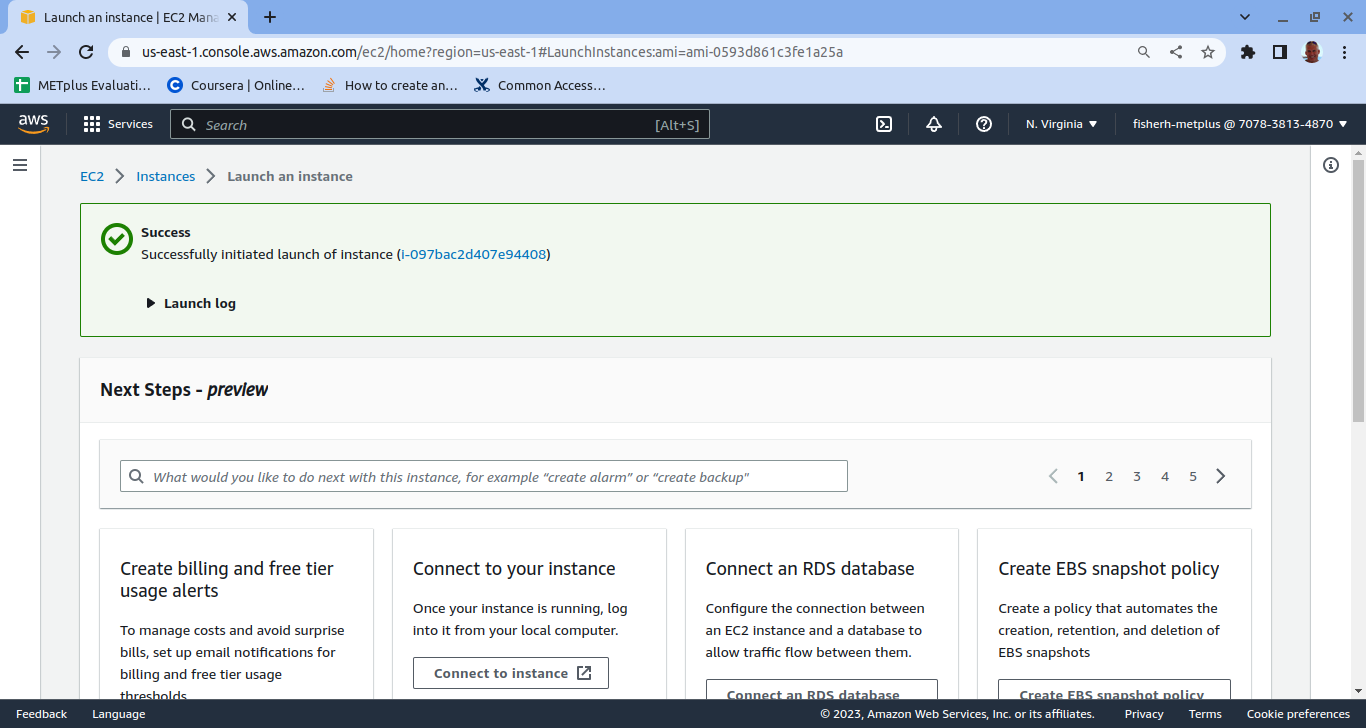
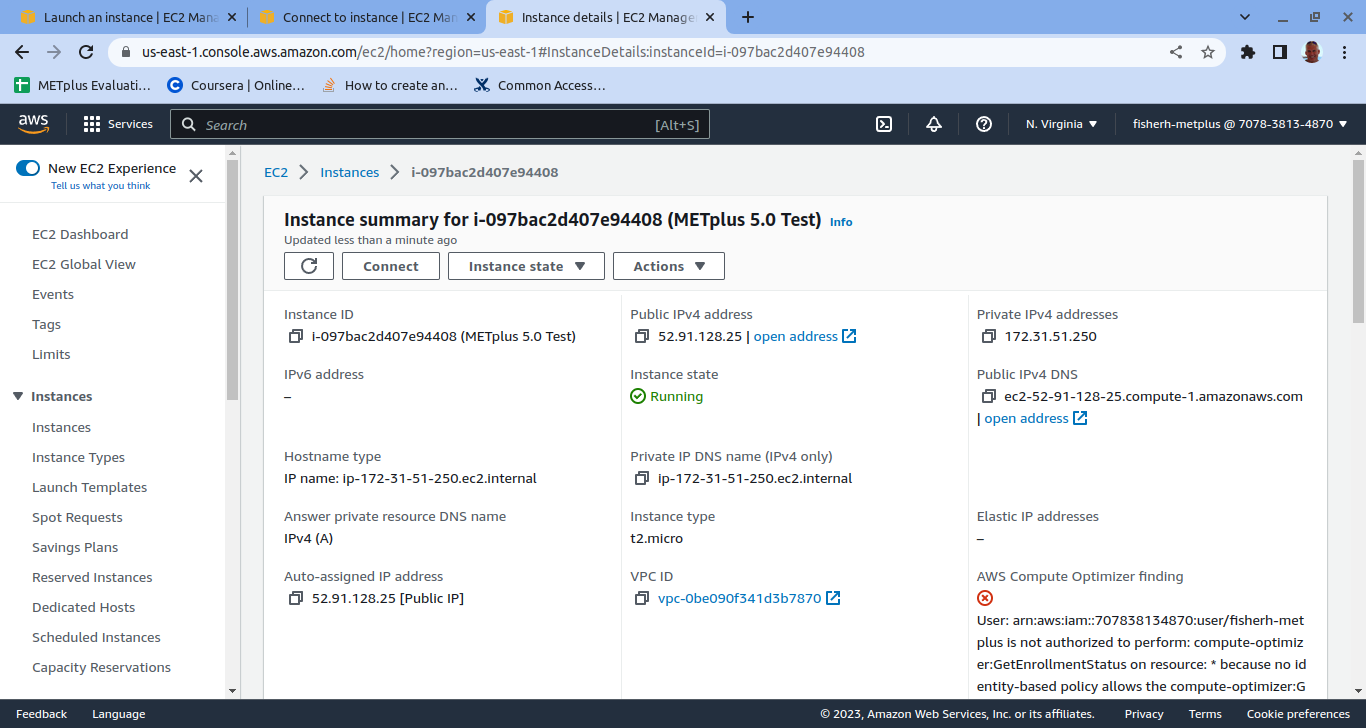
Once launched you will see a screen similar to below.
There are now two ways to get the ip address to your currently running EC2 instance.
Something similar to the image below should pop up and your ip address should be listed.
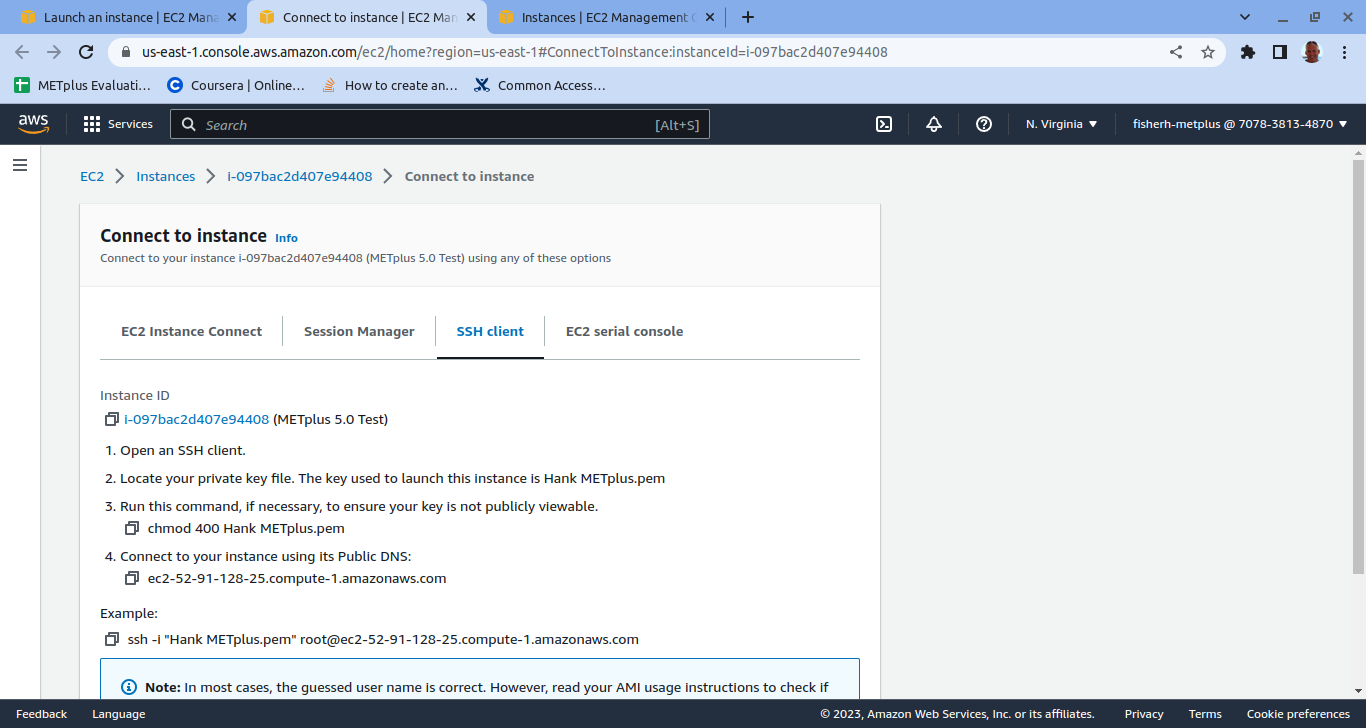
You may now connect to your EC2 instance the same way as you would if you were given an ip by the tutorial manager.
(content)