Session 5: MODE and MTD
Session 5: MODE and MTD
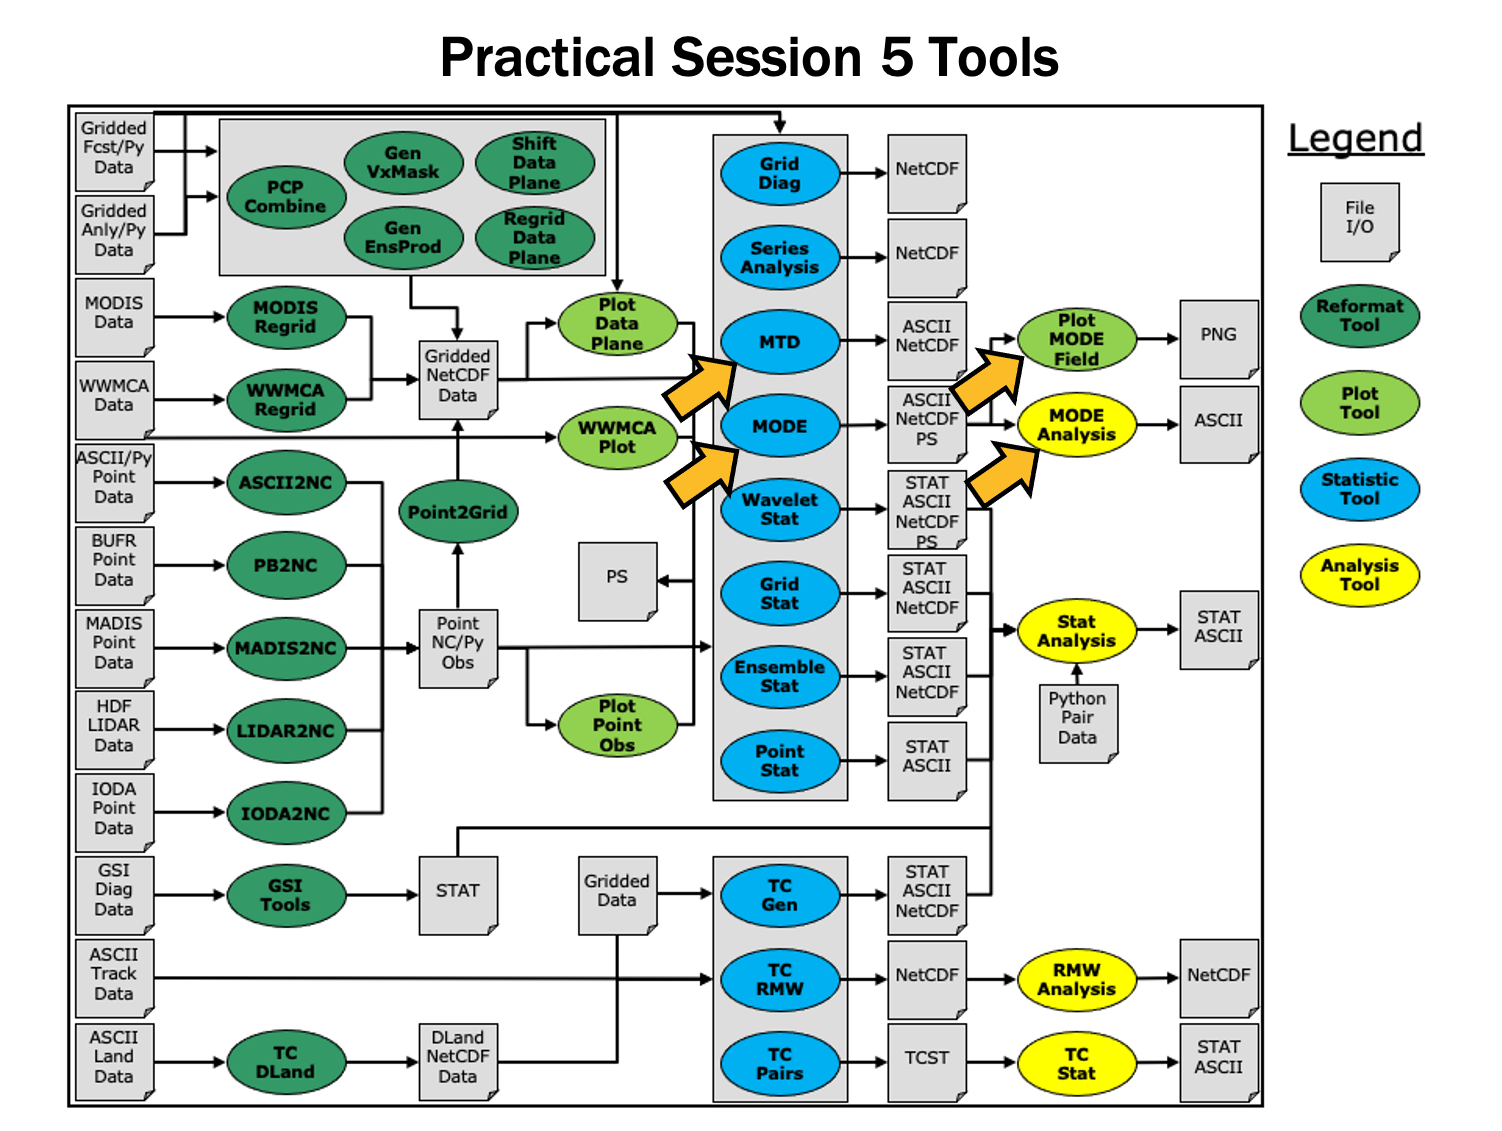
METplus Practical Session 5
During this practical session, you will run the tools indicated below:
Since you already set up your runtime enviroment in Session 1, you should be ready to go! To be sure, run through the following instructions to check that your environment is set correctly.
Prerequisites: Verify Environment is Set Correctly
Before running the tutorial instructions, you will need to ensure that you have a few environment variables set up correctly. If they are not set correctly, the tutorial instructions will not work properly.
EDIT AFTER COPYING and BEFORE HITTING RETURN!
source METplus-5.0.0_TutorialSetup.sh
echo ${METPLUS_BUILD_BASE}
echo ${MET_BUILD_BASE}
echo ${METPLUS_DATA}
ls ${METPLUS_TUTORIAL_DIR}
ls ${METPLUS_BUILD_BASE}
ls ${MET_BUILD_BASE}
ls ${METPLUS_DATA}
METPLUS_BUILD_BASE is the full path to the METplus installation (/path/to/METplus-X.Y)
MET_BUILD_BASE is the full path to the MET installation (/path/to/met-X.Y)
METPLUS_DATA is the location of the sample test data directory
ls ${METPLUS_BUILD_BASE}/ush/run_metplus.py
See the instructions in Session 1 for more information.
You are now ready to move on to the next section.
MET Tool: MODE
MET Tool: MODE
MODE Tool: General
MODE Functionality
MODE, the Method for Object-Based Diagnostic Evaluation, provides an object-based verification for comparing gridded forecasts to gridded observations. MODE may be used in a generalized way to compare any two fields containing data from which objects may be well defined. It has most commonly been applied to precipitation fields and radar reflectivity. The steps performed in MODE consist of:
- Define objects in the forecast and observation fields based on user-defined parameters.
- Compute attributes for each of those objects: such as area, centroid, axis angle, and intensity.
- For each forecast/observation object pair, compute differences between their attributes: such as area ratio, centroid distance, angle difference, and intensity ratio.
- Use fuzzy logic to compute a total interest value for each forecast/observation object pair based on user-defined weights.
- Based on the computed interest values, match objects across fields and merge objects within the same field.
- Write output statistics summarizing the characteristics of the single objects, the pairs of objects, and the matched/merged objects.
MODE may be configured to use a few different sets of logic with which to perform matching and merging. In this tutorial, we'll use the most simple approach, but users are encouraged to read Chapter 14 of the MET User's Guide for a more thorough description of MODE's capabilities.
MODE Usage
| Usage: mode | ||
| fcst_file | Input gridded forecast file containing the field to be verified | |
| obs_file | Input gridded observation file containing the verifying field | |
| config_file | MODEConfig file containing the desired configuration settings | |
| [-config_merge merge_config_file] | Overrides the default fuzzy engine settings for merging within the fcst/obs fields (optional). | |
| [-outdir path] | Overrides the default output directory (optional). | |
| [-log file] | Outputs log messages to the specified file | |
| [-v level] | Level of logging | |
| [-compress level] | NetCDF compression level |
At a minimum, the input gridded fcst_file, the input gridded obs_file, and the configuration config_file must be passed in on the command line.
Configure
Configure
MODE Tool: Configure
cd ${METPLUS_TUTORIAL_DIR}/output/met_output/mode
The behavior of MODE is controlled by the contents of the configuration file passed to it on the command line. The default MODE configuration file may be found in the data/config/MODEConfig_default file.
cp ${METPLUS_DATA}/met_test/scripts/config/MODEConfig_APCP_24 MODEConfig_APCP_24
cp ${METPLUS_DATA}/met_test/scripts/config/MODEConfig_RH MODEConfig_RH
We'll be using these three configuration files during this session.
The configuration items for MODE are used to specify how the object-based verification approach is to be performed. In MODE, as in the other MET statistics tools, you can compare any two fields. When necessary, the items in the configuration file are specified separately for the forecast and observation fields. In most cases though, users will be comparing the same forecast and observation fields. The configurable items include parameters for the following:
- The forecast and observation fields and vertical levels or accumulation intervals to be compared
- Options to mask out a portion of or threshold the raw fields
- The forecast and observation object definition parameters
- Options to filter out objects that don't meet a size or intensity criteria
- Flags to control the logic for matching/merging
- Weights to be applied for the fuzzy engine matching/merging algorithm
- Interest functions to be used for the fuzzy engine matching/merging algorithm
- Total interest threshold for matching/merging
- Various plotting options
output_prefix = "";
version = "V11.0";
////////////////////////////////////////////////////////////////////////////////
We'll start here using by running the configuration files we copied over, as-is.
Run
Run
MODE Tool: Run
${METPLUS_DATA}/met_test/out/pcp_combine/sample_fcst_12L_2005080712V_12A.nc \
${METPLUS_DATA}/met_test/out/pcp_combine/sample_obs_2005080712V_12A.nc \
MODEConfig_APCP_12 \
-outdir . \
-v 2
${METPLUS_DATA}/met_test/data/sample_fcst/2005080700/wrfprs_ruc13_24.tm00_G212 \
${METPLUS_DATA}/met_test/out/pcp_combine/sample_obs_2005080800V_24A.nc \
MODEConfig_APCP_24 \
-outdir . \
-v 2
${METPLUS_DATA}/met_test/data/sample_fcst/2005080700/wrfprs_ruc13_12.tm00_G212 \
${METPLUS_DATA}/met_test/data/sample_fcst/2005080712/wrfprs_ruc13_00.tm00_G212 \
MODEConfig_RH \
-outdir . \
-v 2
If you receive error output during any of the MODE runs above that looks like the following:
ERROR : check_met_version() -> The version number listed in the config file (V8.1) is not compatible with the current version of the code (V11.0.0).
ERROR :
You will need to follow the previous instructions and make sure the version is set to V11.0 in all of the configuration files prior to re-running the commands.
These commands make use of sample data that's distributed with the MET tarball. They run MODE on 12-hour accumulated precipitation, 24-hour accumulated precipitation, and on a field of relative humidity.
Output
Output
MODE Tool: Output
The output of MODE typically consists of 4 files: 2 ASCII statistics files, 1 NetCDF object file, and 1 PostScript summary plot. The output of any of these files may be disabled using the appropriate MODE command line argument. In this example, the output is written to the current mode directory, as we requested on the command line.
The MODE output file naming convention is similar to that of the other MET tools. It contains timing information about the forecast being evaluated (forecast valid, lead, and accumulation times).
The 4 MODE output files are described briefly below:
- The PostScript file ends in .ps and is described below.
- The NetCDF object file ends in _obj.nc and contains the object indices.
- The ASCII contingency table statistics file and ends in _cts.txt.
- The ASCII object statistics file ends in _obj.txt and contains all of the object and object comparison data.
-
Page 1 summarizes the entire MODE run. Thumbnail images show the input data, resolved objects, and numbers identifying each object for both the forecast and observation fields. The color indicates object matching between the forecast and observation fields. Royal blue indicates an unmatched object. The object definition information is listed at the bottom of the page, and a sorted list of total object interest is listed on the right side.
- Page 2 is an expanded view of the forecast thumbnail images.
- Page 3 is an expanded view of the observation thumbnail images.
- Page 4 has images showing the forecast objects with observation object outlines overlaid, and vice-versa.
- Page 5 shows images and statistics for matching object clusters (i.e. one or more forecast objects matching one or more observation objects). These statistics also appear in the ASCII output from MODE.
- When double-thresholding or fuzzy engine merging is enabled, additional PostScript pages are added to illustrate those methods.
What are the benefits of spatial methods over traditional statistics? The weaknesses? What are some examples where an object-based verification would be inappropriate?
METplus Use Case: MODE
METplus Use Case: MODE
METplus Use Case: MODE
The MODE use case utilizes the MET MODE tools.
Optional: Refer to the MET Users Guide for a description of the MET tools used in this use case.
Optional: Refer to A-Z Config Glossary section of the METplus Users Guide for a reference to METplus variables used in this use case.
Review Use Case Configuration File: MODE.conf
This references INPUT_BASE which is the METplus tutorial configuration file ${METPLUS_TUTORIAL_DIR}/tutorial.conf. METplus config variables can reference other config variables even if they are defined in a config file that is read afterwards.
Run METplus
${METPLUS_BUILD_BASE}/parm/use_cases/met_tool_wrapper/MODE/MODE.conf \
${METPLUS_TUTORIAL_DIR}/tutorial.conf \
config.OUTPUT_BASE=${METPLUS_TUTORIAL_DIR}/output/MODE
METplus is finished running when control returns to your terminal console and you see the following text:
Review the Output Files
You should have output files in the following directories:
- mode_WRF_RH_vs_WRF_RH_P500_120000L_20050807_120000V_000000A_cts.txt
- mode_WRF_RH_vs_WRF_RH_P500_120000L_20050807_120000V_000000A_obj.nc
- mode_WRF_RH_vs_WRF_RH_P500_120000L_20050807_120000V_000000A_obj.txt
- mode_WRF_RH_vs_WRF_RH_P500_120000L_20050807_120000V_000000A.ps
Review the Log Files
Log files for this run are found in ${METPLUS_TUTORIAL_DIR}/output/MODE/logs/.
Review the Final Configuration File
The final configuration files are found in ${METPLUS_TUTORIAL_DIR}/output/MODE. Similar to the log files, the configuration file contains a timestamp of the time that the METplus command was run.
MET Tool: MTD
MET Tool: MTD
MODE-Time-Domain: General
MODE-Time-Domain Functionality
The MODE-Time-Domain (MTD) tool was added in MET version 6.0. It applies an object-based verification technique in comparing a gridded forecast to a gridded analysis. It defines 3-dimensional space/time objects, tracking 2-dimensional objects through time. It writes summary object information to ASCII statistics files and writes object fields to NetCDF format. The MTD tool can be used to quantify the duration of events and timing errors.
MODE-Time-Domain Usage
At a minimum, the -fcst and -obs options must be used to specify the data to be processed. Alternatively, the -single option specifies that MTD should be run on a single dataset. The -config option specifies the name of the configuration file.
Configure
Configure
MTD: Configure
cd ${METPLUS_TUTORIAL_DIR}/output/met_output/mtd
The behavior of MTD is controlled by the contents of the configuration file passed to it on the command line. The default MTD configuration file may be found in the data/config/MTDConfig_default file.
The configuration items for MTD are used to specify how the space-time-object-based verification approach is to be performed. Just as MODE may be used to compare any two fields, the same is true of MTD. When necessary, the items in the configuration file are specified separately for the forecast and observation fields. In most cases though, users will be comparing the same forecast and observation fields. The configurable items include specifications for the following:
- The verification domain.
- The forecast and observation fields and vertical levels or accumulation intervals to be compared.
- The forecast and observation object definition parameters.
- Options to filter out objects that don't meet a minimum volume.
- Matching/merging weights and interest functions.
- Total interest threshold for matching/merging.
- Flags to control output files.
For this tutorial, we'll configure MTD to process the same series of data we ran through the Series-Analysis tool. Just like MODE, MTD compares a single forecast field to a single observation field in each run.
fcst = {
field = {
name = "APCP";
level = "A03";
}
conv_radius = 2;
conv_thresh = >=2.54;
}
obs = {
field = {
name = "APCP_03";
level = "(*,*)";
}
conv_radius = 2;
conv_thresh = >=2.54;
}
Set the minimum volume for MET evaluation to 0:
This retains all objects regardless of their calculated volume.
Run
Run
MTD: Run
sample_obs/ST2ml_3h/sample_obs_2005080703V_03A.nc \
-pcpdir ${METPLUS_DATA}/met_test/data/sample_obs/ST2ml
sample_obs/ST2ml_3h/sample_obs_2005080706V_03A.nc \
-pcpdir ${METPLUS_DATA}/met_test/data/sample_obs/ST2ml
sample_obs/ST2ml_3h/sample_obs_2005080709V_03A.nc \
-pcpdir ${METPLUS_DATA}/met_test/data/sample_obs/ST2ml
sample_obs/ST2ml_3h/sample_obs_2005080712V_03A.nc \
-pcpdir ${METPLUS_DATA}/met_test/data/sample_obs/ST2ml
sample_obs/ST2ml_3h/sample_obs_2005080715V_03A.nc \
-pcpdir ${METPLUS_DATA}/met_test/data/sample_obs/ST2ml
sample_obs/ST2ml_3h/sample_obs_2005080718V_03A.nc \
-pcpdir ${METPLUS_DATA}/met_test/data/sample_obs/ST2ml
sample_obs/ST2ml_3h/sample_obs_2005080721V_03A.nc \
-pcpdir ${METPLUS_DATA}/met_test/data/sample_obs/ST2ml
sample_obs/ST2ml_3h/sample_obs_2005080800V_03A.nc \
-pcpdir ${METPLUS_DATA}/met_test/data/sample_obs/ST2ml
Rather than listing 8 input forecast and observation files on the command line, we will write them to a file list first. Since the 0-hour forecast does not contain 3-hourly accumulated precip, we will exclude that from the list. We will use the 3-hourly APCP output from PCP-Combine that we prepared above:
ls -1 sample_obs/ST2ml_3h/sample_obs* > obs_file_list
-fcst fcst_file_list \
-obs obs_file_list \
-config MTDConfig_tutorial \
-outdir . \
-v 2
Just as with MODE, MTD applies a convolution operation to smooth the data. However, there are two important differences. In MODE, the convolution shape is a circle (radius = conv_radius). In MTD, the convolution shape is a square (width = 2*conv_radius+1) and for time t, the values in that square are averaged for times t-1, t, and t+1. Convolving in space plus time enables MTD to identify more continuous space-time objects.
Output
Output
MTD: Output
The MTD output typically consists of 6 files: 5 ASCII statistics files and 1 NetCDF object file. MTD does not create any graphical output. In this example, the output is written to the current mtd directory as we requested on the command line.
- mtd_20050807_030000V_2d.txt
- mtd_20050807_030000V_3d_pair_cluster.txt
- mtd_20050807_030000V_3d_pair_simple.txt
- mtd_20050807_030000V_3d_single_cluster.txt
- mtd_20050807_030000V_3d_single_simple.txt
- mtd_20050807_030000V_obj.nc
The MTD output file naming convention begins with mtd_ followed by the last valid time it encountered. The output file names may be modified using the output_prefix option in the configuration file, which should be used to prevent the output of one run from over-writing the output of a previous run. The 6 MTD output files are described briefly below:
- The NetCDF object file ends in .nc and contains gridded fields of the raw data, simple object indices, and cluster object indices for each forecast and observed timestep.
- The ASCII file ending with _2D.txt contains many columns similar to the output of MODE. This data summarizes the 2-dimensional object attributes for each individual time slice of the 3D forecast and observation objects.
- The ASCII files ending with _single_simple.txt and _single_cluster.txt contain 3D space-time attributes for simple and cluster objects, respectively.
- The ASCII files ending with _pair_simple.txt and _pair_cluster.txt contain 3D space-time attributes for pairs of simple and cluster objects, respectively.
Notice that the objects are defined in the active areas in the raw fields. Also notice some features merging (i.e. combining) as time passes while other features split (i.e. break apart). While they may be disconnected at a particular timestep, they remain part of the same space-time object.
Notice the generalization of the 2D MODE object attributes to 3 dimensions. Area measure becomes volume. MTD measures the object speed. Each object has a beginning and ending time.
METplus Use Case: MTD
METplus Use Case: MTD
METplus Use Case: MTD
Reference Material
The MTD (Mode Time Domain) use case utilizes the MET MTD tools.
Optional: Refer to the MET Users Guide for a description of the MET tools used in this use case.
Optional: Refer to the A-Z Config Glossary section of the METplus Users Guide for a reference to METplus variables used in this use case.
Review Use Case Configuration File: MTD.conf
Note that there are options to specify to run the tool with one file or two, depending on the science question being answered, as well configuration options for the settings regularly adjusted by users. For example:
MTD_SINGLE_DATA_SRC = OBS
FCST_MTD_CONV_RADIUS = 0
FCST_MTD_CONV_THRESH = >=10
OBS_MTD_CONV_RADIUS = 15
OBS_MTD_CONV_THRESH = >=1.0
Also note that there is a configuration option to run MTD variables in MTD.conf reference other config variables that have been defined in other configuration files. For example:
This references INPUT_BASE which is set in the METplus data configuration file (metplus_config/metplus_data.conf). METplus config variables can reference other config variables even if they are defined in a config file that is read afterwards.
Run METplus
${METPLUS_BUILD_BASE}/parm/use_cases/met_tool_wrapper/MTD/MTD.conf \
${METPLUS_TUTORIAL_DIR}/tutorial.conf \
config.OUTPUT_BASE=${METPLUS_TUTORIAL_DIR}/output/MTD
METplus is finished running when control returns to your terminal console and you see the following text:
INFO: METplus has successfully finished running as user.
Review the Output Files
You should have output files including the following:
- mtd_WRF_APCP_vs_MC_PCP_APCP_03_A03_20050807_060000V_2d.txt
- mtd_WRF_APCP_vs_MC_PCP_APCP_03_A03_20050807_060000V_3d_pair_cluster.txt
- mtd_WRF_APCP_vs_MC_PCP_APCP_03_A03_20050807_060000V_3d_pair_simple.txt
- mtd_WRF_APCP_vs_MC_PCP_APCP_03_A03_20050807_060000V_3d_single_cluster.txt
- mtd_WRF_APCP_vs_MC_PCP_APCP_03_A03_20050807_060000V_3d_single_simple.txt
- mtd_WRF_APCP_vs_MC_PCP_APCP_03_A03_20050807_060000V_obj.nc
Take a look at some of the files to see what was generated.
Review the Log Files
Log files for this run are found in ${METPLUS_TUTORIAL_DIR}/output/MTD/logs. The filename contains a timestamp of the current year, month, day, hour, minute, and second.
Review the Final Configuration File
The final configuration files are found in${METPLUS_TUTORIAL_DIR}/output/MTD. Similar to the log files, the configuration file contains a timestamp of the time that the METplus command was run.
End of Session 5 and Additional Exercises
End of Session 5 and Additional Exercises
End of Practical Session 5
Congratulations! You have completed Session 5!
If you have extra time, you may want to try these additional METplus exercises.
${METPLUS_BUILD_BASE}/parm/use_cases/met_tool_wrapper/MTD/MTD.conf \
$METPLUS_TUTORIAL_DIR/user_config/mtd.skip.conf
${METPLUS_TUTORIAL_DIR}/user_config/mtd.skip.conf \
${METPLUS_TUTORIAL_DIR}/tutorial.conf \
config.OUTPUT_BASE=${METPLUS_TUTORIAL_DIR}/output/exercises/mtd_skip
Did you see the WARNING message?
If you look in the data directories for this run, you will see that while the forecast for the 15 hour lead exists, the observation file does not. METplus will only add items to the MTD lists if both corresponding files are available.
ls -1 ${METPLUS_DATA}/met_test/new/ST2*
${METPLUS_TUTORIAL_DIR}/user_config/mtd.unzip.conf \
${METPLUS_TUTORIAL_DIR}/tutorial.conf \
config.OUTPUT_BASE=${METPLUS_TUTORIAL_DIR}/output/exercises/unzip
Notice that the path of the 3 hour file is under your ${METPLUS_TUTORIAL_DIR}, while the 6 hour file is under ${METPLUS_DATA}. If you look in the data directories for this run, you will see that the 3 hour observation file is gzipped in ${METPLUS_DATA}.
METplus can recognize that files with gz, bzip2, or zip extensions are compressed and will do so automatically, placing the uncompressed file in the staging directory so that METplus doesn't modify any data in the input directory. METplus can be configured to scrub the staging directory after the run completes to save space, or leave the files so that they may be used by subsequent METplus runs without having to uncompress again (See SCRUB_STAGING_DIR and STAGING_DIR in the METplus User's Guide).